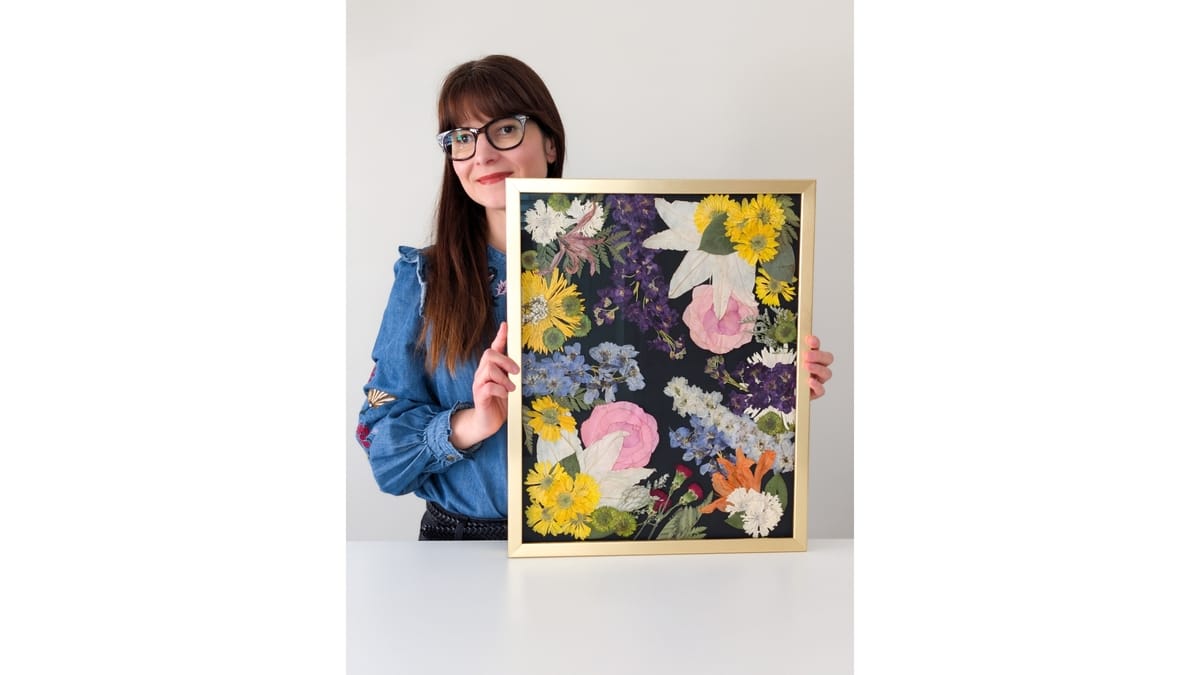
You probably have been bombarded with a firehose of information about ways to preserve flowers.
Even if you have been pressing for a while, you can get overwhelmed and distracted. The reality is that the craziest “hacks” are the ones that go “viral.” The boring stuff that works rarely does.
Some viral methods may work in certain scenarios, while others are either AI-generated or plainly ridiculous.
So I scoured the web to find the most talked-about methods.
I’ve experimented with many, and I use others consistently.
(some are just silly...)
In my opinion as a professional presser, there is no single "best" way to preserve flowers.
It’s dependent on:
The flowers you’re trying to save
The tools you already have
Your experience in pressing
So I arranged this guide that way.
First, there are two questions to answer in your head, then the methods that actually fit your answers.
Let’s do it!
Start with two questions
1) What do you want the finished piece to look like?
Flat, for cards, framed art, journals, resin-flat pieces. That’s pressing.
Sculptural, keeping the 3D shape, for shadow boxes, wreaths, arrangements, resin blocks. That’s drying.
2) How deep are you into this?
Just starting out. No gear, no urgency, curious.
Serious about the craft. Pressing regularly, want better results.
Selling or planning to. You need consistency, efficiency, volume, and pieces that survive shipping and years on a wall.
Everything below is organized by those two answers.
If the method fits your goal and your level, that’s the one I recommend trying.
If you’re just starting out
You don’t need to buy anything to begin.
You need to try.
Here are three methods that will get you real results in two weeks using what’s already in your house.
Book pressing
You lay the flower between two sheets of plain copy paper, place it between the pages of a heavy book, and put some weight on top.
That’s the whole method. It works best for thin, flat-ish flowers like violets, cosmos, pansies, and small daisies. It’s pretty forgiving, and takes two to four weeks to fully dry.
This is how a lot of us started, and it still works today.
The trouble is that it’s slow.
It’s also easy to forget which book you tucked them into.
Full method in my 4 ways to press flowers without special equipment post.
Air drying (hanging upside down)
You bundle the stems with a rubber band, hang them upside down in a dark, dry corner, and wait two to three weeks.
This method works best for flowers that will hold their shape reasonably well on their own, such as roses, certain types of hydrangeas, celosia, statice, lavender, grasses, and seed heads.
It gives you a sculptural 3D result, and the colors deepen or dull rather than staying true (a few exceptions include statice, strawflowers and gomphrena - they retain their color well).
Silica sand
This is the one that punches above its skill level.
You bury the flower in silica sand crystals (available at most craft stores), seal the container, and wait up to two weeks.
The gel pulls moisture out faster than the air can, so colors stay much closer to true, and the flowers dry in their original 3D form.
If you’re looking to create a shadow box or deep resin block, this is the preservation method to try.
It’s the best beginner-friendly method for fluffy blooms you’d normally give up on, like dahlias, peonies, zinnias, etc.
What I’d try first: The book method with something forgiving from your garden, then a small container of silica gel with a bloom that would be sad to lose.
If you’re serious about the craft or press professionally
You’ve done a few pressings, they came out okay, and now you want them to come out reliably.
This is where I’d put the small investment in.
Traditional wooden flower press
This is the workhorse.
A large wooden press with bolts (not the strap kind) is the piece of gear I’d buy first, and the one I still use every day (this is the one I have and love).
It’s tighter than a book, holds a real stack and lets you press over weeks without your setup shifting. It’s the anchor of a real hobby, and the right method for most flat pressings.
My full method is in my traditional press guide.
Microwave flower press
This is the speed method.
A microwave press pulls water out fast, in minutes rather than weeks, and finishes with a short rest in a traditional press. It’s the right method for thick, water-heavy blooms that would rot in a slow press. Think dahlias, roses, and orchids.
Skip it for waxy or heat-unpredictable flowers like hellebores.
I always recommend the original patented microwave press from Microfleur for its durability.
Full technique in my microwave press post.
Cotton pad method
I love this one for the small things: feverfew, calendula, daisies, leaves and even individual petals.
You use jumbo pads instead of paper, so the flower is cradled where stiff paper would crush it. Same press, different sandwich.
If small delicate flowers are your favorite thing to work with, this belongs in your rotation.
See the cotton pad method.
Foam / dehydrator press
This is the electric version of the microwave press.
A press that heats gently over several hours instead of blasting for minutes.
It’s the right method for reliable batch drying at scale, and for flowers where microwave heat is too aggressive. Slower than microwave, faster than traditional, and much more consistent for production work.
This is one of the methods I will cover in depth inside the Pro Circle, my community for serious and professional pressers. You can join the waitlist here.
Industrial-level freeze drying
An industrial freeze-drying machine flash-freezes the flower and then sublimates the water directly from ice to vapor under vacuum, leaving the bloom fully 3D with color close to fresh.
The flowers can be flattened before they’re freeze-dried, but they still need to be relatively fresh at the start.
The equipment is expensive (think $10,000 or more), it requires dedicated space, and it needs regular maintenance.
This isn’t a home method.
Niche methods
These are methods that come up often in flower preservation conversations.
Some I’ve tried myself (iron pressing), and the others I know from research rather than my own studio.
Here’s the honest take on each.
Iron pressing
The internet loves this one for the speed. I tried it and wrote it up.
Short version: you can flatten a flower in minutes and it will look okay. The color and structural results don’t compete with a real press.
It’s fine for a kid’s craft, less so for a piece you’ll frame.
Sand drying
Sand drying is a Victorian-era method that predates silica gel and works on the same principle.
You bury the flower in fine, clean sand, wait two to three weeks, and gently pour the sand away.
It works best for hardy flowers with sturdy petals like roses, zinnias, and marigolds.
Silica gel has largely replaced it because silica is lighter, faster, and holds color better, but sand still gets recommended in preservation lists as the oldest desiccant method in the book.
Worth knowing about if you like the vintage lineage of the craft. I haven’t used it in the studio myself because silica does the same job in a fraction of the time.
Glycerin preservation
The flower draws up a glycerin-and-water solution through its stem, replacing the water in the tissue.
The result is flexible and leathery instead of crisp.
Those who have tried it say it works well for foliage like eucalyptus, magnolia, and oak leaves, and less well for delicate blooms.
Wax dipping
You melt paraffin wax, dip the fresh bloom, and let it cool.
This method creates a sculptural, glossy result with a shelf life ranging from a few weeks to a couple of months.
It’s the most decorative of the methods, and the least archival.
Home freeze drying
Small freeze-drying units for home use are now available in the $2,000 to $4,000 range.
They were originally designed to preserve fresh fruit, vegetables and meats, so their capacity for flowers is limited (the smallest units process only a handful of blooms per cycle).
Flowers need to be pre-frozen for about 24 hours before loading.
Individual bloom cycles typically run 24 to 48 hours, but preserving a whole wedding bouquet in a small home unit can take 1 to 2 weeks of continuous running, which is closer to what industrial units handle in half the time.
Methods to skip
Some methods show up on top 10 lists that don’t belong there. Here are three to leave alone.
Hairspray "preservation"
Spraying a fresh bloom with hairspray does approximately… nothing.
It coats the outside briefly, doesn’t remove any water, and the flower rots on schedule.
This one shows up in Pinterest lists constantly and it isn’t real preservation.
The household freezer
A regular freezer is a different animal from freeze-drying. It freezes the water inside the flower solid, and when it thaws you get a limp mess.
Freeze-drying works because water sublimates directly from ice to vapor under vacuum.
Your kitchen freezer has no vacuum chamber. Skip.
Wax paper in a book
This is the most common bad tip on the internet.
Wax paper traps moisture against the petal, which is the opposite of what pressing needs.
Use plain copy paper, blotting paper, or newsprint. Never wax paper.
I go deeper on paper choices in my tools and equipment post.
Quick decision guide
If you…
Have never done this before, just want to try: book pressing, hydrangeas air drying, or a small container of silica gel.
Want flat pressed flowers, reliably: traditional wooden press. Read the browning post so your first pressings hold their color.
Want to save the 3D shape: silica gel for delicate blooms; air-drying for hardy ones.
Are working with dahlias, roses, orchids, or anything thick: you might want to try a method combination, like microwave press first, then transfer to a traditional press to finish. I cover this in my browning and color retention post.
Have small, delicate flowers: cotton pad method.
Are selling finished pieces: traditional press or silica.
The preservation method is a tool, not a rule.
You’ll almost certainly end up using two or three of these depending on what’s in your garden and what you’re making.
The ones I use every week are the traditional press, the microwave press, and the cotton pad method.
Silica gel comes out for special cases.
Which of these have you tried, and which one has been sitting on your list you never got around to? Tell me in the comments. I’d love to know what’s working (or not) for you.
———
Some links on this page are Amazon affiliate links. If you purchase through them, I earn a small commission at no extra cost to you. I only link to products I personally use in my own studio.