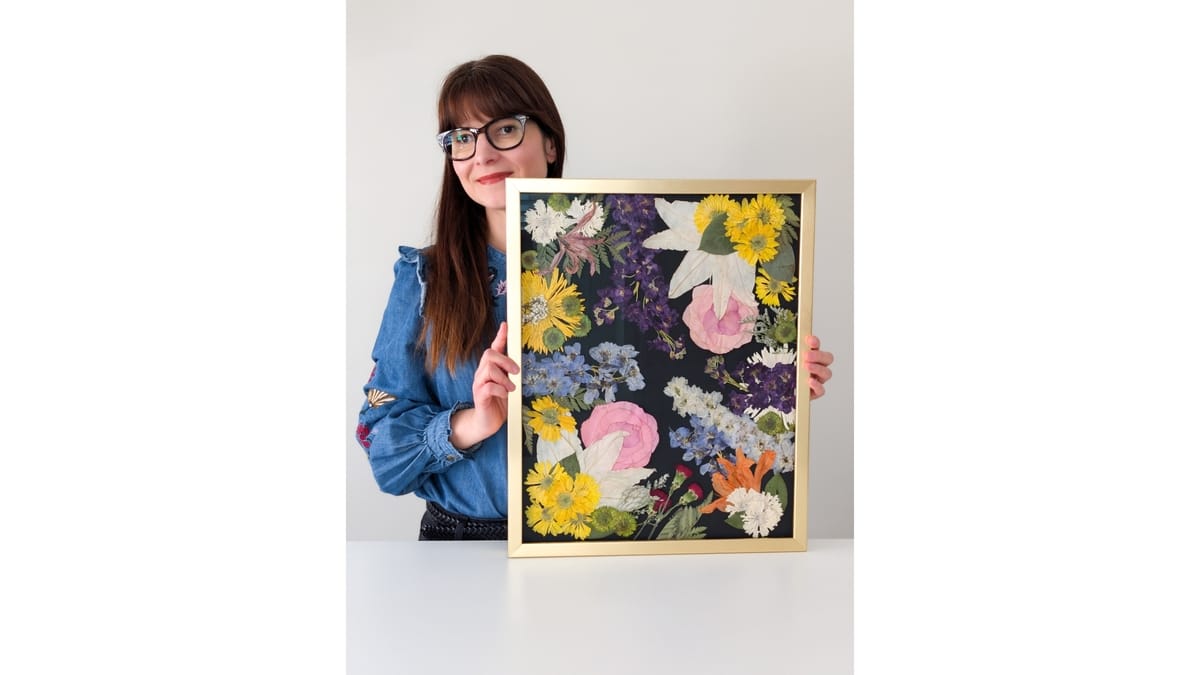
This is a creative fall project made for pressed leaves, though you can use pressed flowers too. I used both.
You trace a few shapes on a mat, fill them with botanicals, and cut along the lines for crisp, clean edges. I went with circles because I love the shape, and I wanted a piece that felt surprising and fun.
This is a project to get lost in. Once you settle into that creative flow, it feels like meditation.
It also scales, so make it as small or as large as you like.

I used a very old antique frame I thrifted, and botanicals from my garden and neighborhood.
What you’ll need
A frame
A thick mat cut to fit your frame (I used a 4-ply Crescent RagMat archival mat, which you can find in framing stores)
(optional) A second mat in a contrasting color, slightly larger than the first (I used black)
Pressed leaves or flowers
Objects in the shape you want to trace (I used a small bowl and a glass cup for my circles)
A pencil
An X-Acto knife (I prefer these because they’re super sharp and pointy)
A stainless steel ruler (there’s no risk of cutting into it with the X-Acto knife)
A soft brush to sweep away eraser debris and the bits you trim off as you cut
Pick a thick mat for this one, since you’ll be cutting directly on it. The Crescent RagMat I used is 4-ply and pretty thick, and any fairly thick mat will work.
Watercolor paper might be too thin and lightweight, so if you don’t have a mat on hand, try heavy cardstock.
Step 1: Trace your shapes
Lightly trace your shapes on the mat with a pencil. I used a small bowl and a glass cup for my circles, and I let a few of them run off the edges of the mat.
Squares, rectangles, and irregular shapes all work too. You can also skip the objects and draw freehand.
Keep your imagination loose here and draw your own patterns.

I traced my circles around a small bowl and let a few run off the edges.
Step 2: Play with the design before you glue
Pick one of your traced shapes and start adding leaves or flowers, without gluing anything yet. At this stage you’re just figuring out options, so try a few different layouts.
Start with the edges of each shape. Those pieces define your creative space, and once they’re in place, you can work your way into the shape.
There are two ways to approach this:
Plan it all first. If you’re a perfectionist like me, design the whole piece without glue and take a picture. Try another layout, take another picture, then decide and start gluing.
Follow your intuition. If you’re more of a spontaneous artist, build as you go. The whole thing becomes a puzzle where each step builds on the last until the design feels harmonious.
It doesn’t have to be perfect, especially if it’s your first project like this. Go with the flow!
Step 3: Glue slowly, starting with the edges
Go very slowly when you glue. I think of the saying “measure twice, cut once,” because once a leaf is glued, you can’t change its position.
Glue the elements along the edges of each shape first, since those are the ones you’ll be cutting.
Glue only the part that stays on the mat.
This is very important if you want the same cutout effect I got. Any leaf or flower that crosses your pencil line gets glue on one side of the line only: the side that stays permanently on the mat. The part you’ll cut away gets no glue at all.
Keep in mind that it’s a mirror image when you flip a leaf over to glue the back, so double-check which side stays on the mat before you apply the glue.
If you’d rather have more organic edges, you don’t have to worry about any of this.
My gluing post explains in detail how I glue pressed botanicals.

Build each shape from the edges in. For tiny sprigs, I dip the end into a drop of glue with tweezers.
Step 4: Cut along the lines
Once the edge elements are glued, place the object you traced with back over its outline (or follow your freehand line) and very carefully cut along the line with your X-Acto knife.
Go slowly, and don’t apply a lot of pressure right away. Botanicals vary in thickness. Some of the leaves in my piece were very thick, with prominent veins, and getting a clean cut was pretty difficult. Others were very thin and cut cleanly.
Start with a soft hand, see how it goes, and then apply more pressure. You don’t want to cut all the way through your mat.
For leaves that ran past the outer edge of the mat, I lined up the steel ruler and trimmed them flush. Lift the trimmed bits away with your tweezers or the tip of your knife.
If an edge doesn’t come out clean, that’s fine. I have a few rough edges in my piece too. You can go back with a very careful hand and tidy them up with the tip of your X-Acto knife, or just consider them part of the composition.

Cut slowly along the bowl, then trim anything hanging off the mat against a steel ruler.
Step 5: Erase and brush away the debris
Once you’ve finished gluing everything, you may need to erase some pencil marks, depending on how your arrangement sits along the tracings. Erase very carefully.
Then sweep the debris away with your brush, using slow, soft strokes. Don’t use your hand! It’s easy to snag the corners you cut and break off pieces of the leaves and flowers.

Erase gently, then sweep the debris away with a soft brush.
Step 6: Mount and frame
To create a floating effect, mount your piece on a second mat that’s slightly larger. I used black for contrast.
Carefully align the two mats so your piece is centered, then glue them together. Apply gentle pressure so they stick, and frame everything in your chosen frame.
That’s it!
Block out a whole afternoon for this one. The hours you spend arranging and rearranging leaves are the part I hope you enjoy most.

Optional step: Glue the finished piece to a slightly larger black mat for a floating effect.
Do you plan every leaf before you glue, or follow your intuition? Tell me in the comments which kind of presser you are.
Some links on this page are Amazon affiliate links. If you purchase through them, I earn a small commission at no extra cost to you. I only link to products I personally use in my own studio.