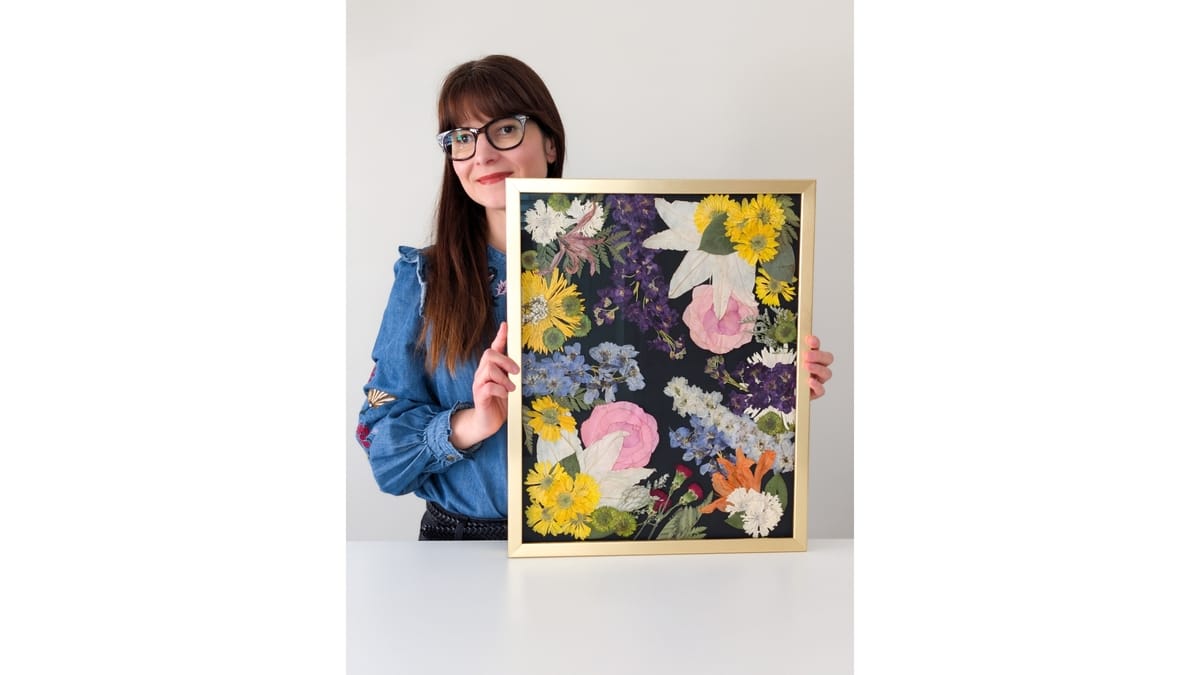
Dahlias are such spectacular flowers, with their whimsical shapes and endlessly striking colors and patterns.
But they can be intimidating to press, for two reasons:
All those petals. A decorative or ball dahlia packs its petals into tight, overlapping rows. Press the whole flower as-is, and the inner rows crush into each other, fold, and trap moisture between the layers.
The moisture. The thick green base behind the petals holds a lot of water. In a traditional press, that water leaves slowly, and slow drying is what turns petals brown.
The three methods below will help you press a wide variety of dahlias. Keep in mind, though, that results will vary, and some will simply look best in a vase, not pressed.
Let’s dig in!
Tools and materials
Here's the exact equipment and tools I use myself. Which ones you need depends on the method you pick.
BestNest Nature Press, 12" x 18" - It fits two sheets of paper side by side, which helps with large volumes of petals.
Blotting paper - I recommend it, but copy paper works too; just double the amount you use.
Sharp scissors for the stem and sepals
Precision tweezers for unfolding creased petals after the first microwave burst
Paper towels for wiping condensation between microwave bursts
Silica gel for flower drying - This particular brand is the best value I've seen.
3M N95 mask - Always wear a mask and gloves when handling silica.
An airtight container big enough to hold the dahlia without squashing it
A soft brush for clearing out the silica
A handheld steamer or a fine-mist spray bottle if you live somewhere dry
Method 1: microwave + traditional press
Best for: darker dahlias of any shape. Deep reds, burgundies, oranges, and dark purples hold up well. White and pastel dahlias tend to turn mushy in the microwave, and many will brown or discolor.
1. Thin the back rows
Pull petals out of the back two or so rows, especially if they are wilted, working all the way around the flower. Pompom and ball dahlias need more thinning than decorative types, since they're dense all the way through.

2. Cut the stem and green parts
Snip the stem as close to the base of the flower as you can. Remove the small green leafy pieces.

3. Load the microwave press
If your pads have sat unused for a few weeks, condition them first: mist them lightly, assemble the press, and run it for 20 seconds at 80% power.
Lay the dahlias in the press with space around each one. Keep them out of the dead center, where steam escapes slowest, and closer to the edges.
4. Microwave in short bursts
Set your microwave to 80% power. If it's 1,100 watts or higher, drop to 70%. A dahlia can take up to 5 bursts:
Burst 1: 40 seconds (30 if you're new to microwave pressing)
Burst 2: 35 seconds
Bursts 3-5, as needed: 25-30 seconds each
After each burst, open the press, let the steam clear for about a minute, and wipe the condensation off the plates with a paper towel.
Right after the first burst, the petals are soft enough to unfold any that creased. Fix them now, because whatever shape they dry in is permanent.
Take the dahlias out while they still have some give. At about 70% dry, the outer edges of the petals feel papery, and the center still bends when you press it gently. Drying a dahlia all the way in the microwave leaves it wrinkled and cooked-looking. The traditional press gives it the smooth, flat finish.

This is the stage when they are ready to go in the wooden press.
5. Finish in a traditional press
Move the dahlias onto fresh blotting paper in your traditional press, and close it tightly.
Use at least 5 sheets of blotting paper on each side of the flowers (or at least 10 sheets of copy paper). Then change the paper on this schedule:
After 24 hours
After another 24 hours
After another 2-3 days
Leave the press closed until the dahlias are fully dry, about 8-10 days.

Method 2: petal by petal
Best for: any dahlia shape and any color, including pale pompoms. It gives you the best detail and a clean look.
This method takes the dahlia apart, presses each petal flat, and leaves you free to rebuild the flower when you compose a piece.
1. Pull off the petals
Hold the dahlia by the back and pull the petals off one at a time, starting with the outer row and working toward the center. Pull gently so each petal comes off whole.
2. Lay the petals on the paper
Arrange the petals in rows on the paper, with a little space around each one. Don't let any overlap, or they'll stick together as they dry.
Use at least 5 sheets of blotting paper on each side of the petals (or at least 10 sheets of copy paper).

3. Press the center (optional)
If your dahlia is an open-center type, or opened far enough to show its yellow center, press the center separately.
Use the microwave and traditional press method above.

4. Change the paper on schedule
Close the press tightly, then change the paper on this schedule:
After 48 hours
After another 48 hours
Then leave the press closed and undisturbed for up to 10 days.
5. Store the petals until you're ready to rebuild
Once they're dry, keep each dahlia's petals and center together, so you can reassemble the full flower when you compose a finished piece.
Method 3: silica + traditional press
Best for: white and pastel dahlias. Skip it for pompoms (they'll crumble in the press). Once you master it, you'll be rewarded with beautiful color retention and petal definition.
This method dries the dahlia whole in silica, then flattens it in a traditional press. I don’t use it often myself, but when I did, it worked quite well.
Two things decide how it turns out:
Getting every grain of silica off the petals
Softening the petals before they go in the press
1. Clean up the back
Cut the stem and remove the green parts, the same as in method 1. Pull off any wilted petals too.
2. Bury it in silica for at least 3 weeks
Pour a layer of silica into the container. Set the dahlia on it face up, then spoon more silica around and between the petals until the flower is covered. Seal the container, and leave it for at least 3 weeks.
3. Remove every grain of silica
Take your time here. White and pastel petals are delicate, and any crystal left on them presses into the petal and leaves a permanent imprint.
Lift the dahlia out, turn it upside down, and tap it gently so the loose crystals fall away. Then brush out what's left between the petals, one row at a time.
4. Let the petals soften
Straight out of the silica, the petals are crisp, and they’ll crumble when you flatten them. Give them time in an open container to absorb a little moisture from the air first.
They are ready when the petals feel flexible to the touch. If they still feel crisp, give them more time.
In a dry climate, this step is tricky. The air may not hold enough moisture to soften the petals on its own. Help it along with a steamer, or mist the dahlia with a very fine spray of water. Go a little at a time, and check the petals in between.
5. Press it flat
Place the softened dahlia on blotting paper in your traditional press, and close it tightly. Check it after 48 hours. It usually takes about 3 days to dry and flatten.

I pressed the large white dahlias and the burgundy one using the silica method.
Which dahlia are you pressing first this season, and which of the three methods will you try on it? Tell me in the comments!
Some links on this page are Amazon affiliate links. If you purchase through them, I earn a small commission at no extra cost to you. I only link to products I personally use in my own studio.